Назад
НазадIntroduction
This document introduces how to set up a CIFS (Common Internet File System)/SMB (Server Message Block) between your NeoSapphire all-flash array and the Windows environment.
What is CIFS/SMB
SMB
SMB is a file-sharing protocol designed to allow computers to read and write files to a remote host over a local area network (LAN).
CIFS
CIFS is a dialect of SMB. It is a particular implementation of the SMB protocol, created by Microsoft. A native file-sharing protocol in the Windows environment, CIFS is the standard way to enable groups to work together and share files across corporate intranets and the Internet.
Use Case
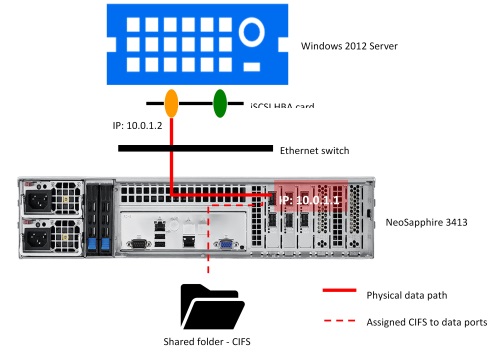
The Use Case discussed in this document assumes the user wants to create a CIFS shared folder named “cifstest” and share it to one Windows 2012 client without using a password.
NeoSapphire
Configuration involves two steps. The first step is to set up a network. The second step is to configure CIFS/SMB.
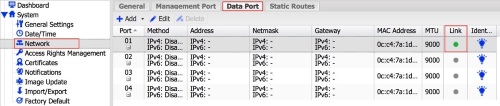
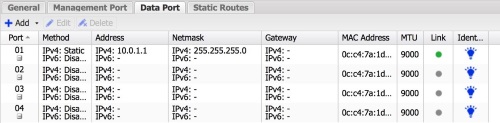
1. Check the status of the link in Select System > Network > Data Port. A green indicator means the cable connection is OK. If not, ensure the cable is properly connected to the network port.
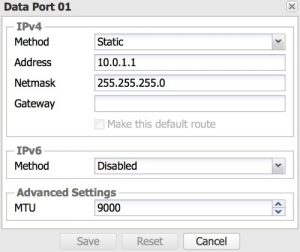
Select Port 1, then click Edit.
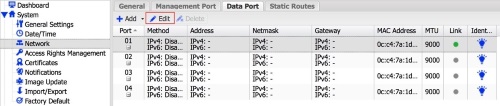
Select Static under the IPv4 Method menu.

Enter the IP address and netmask. Note: MTU 9000 (enable a Jumbo Frame). Click Save.
Note: Set a Jumbo Frame on the Server iSCSI HBA ports, and switch data ports.
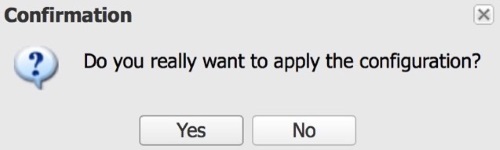
A confirmation message will appear. Click Apply, then Yes.
![]()
Port 1 configuration is completed. Repeat the above steps to configure the other ports if there are other ports available.
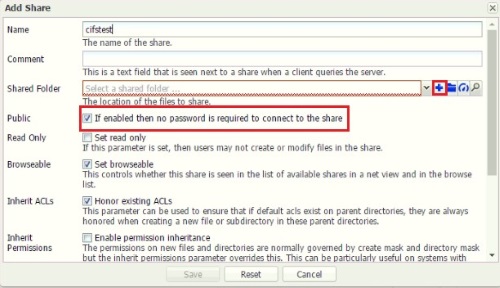
- 2. Go to Share > CIFS/SMB > Shares > Add.
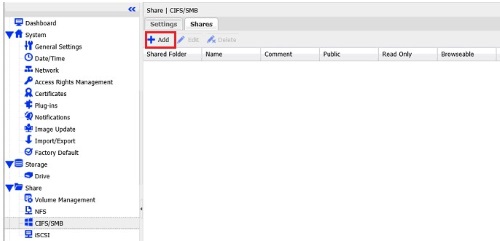
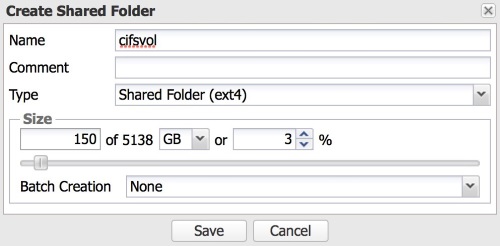
Click 「+」 to create a CIFS volume.
If desired, tick the box that says “If enabled, no password is required to connect to the share” as below.
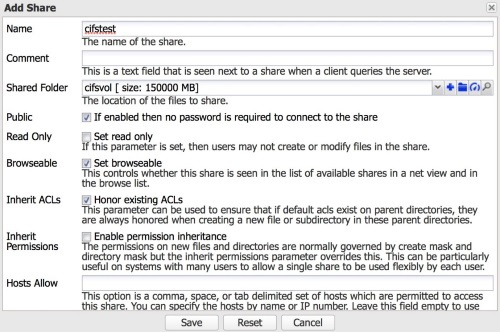
Enter the volume name, type and size. Click Save.
Click Save to complete the configuration.
A confirmation message will appear. Click Apply, then Yes.
![]()

A CIFS volume has been successfully created.

WindowsWindows 2012 will be used for demonstration purposes.
· Configure the IP address and enable a Jumbo Frame on the iSCSI HBA data ports if supported. (If you are going to deploy an iSCSI switch, enable a Jumbo Frame on the iSCSI switch too.)
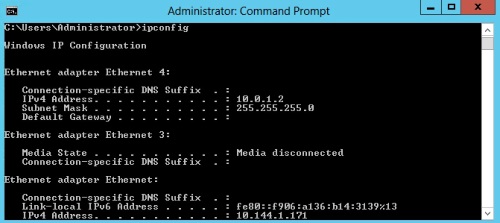
Configure the IP address.
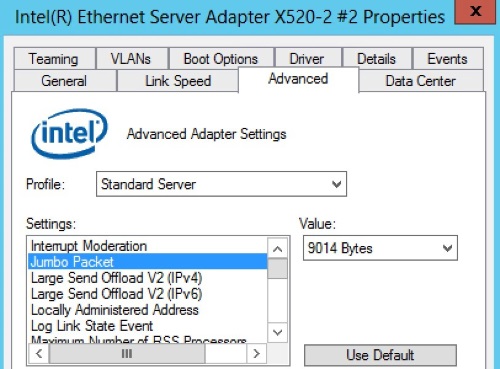
Enable a Jumbo Frame (called Jumbo Packet, in this case,) on the iSCSI HBA data ports.
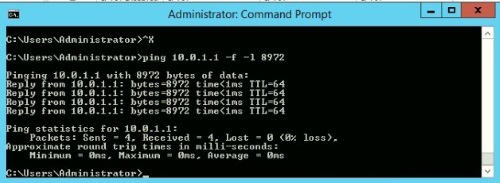
Ping to check that the Jumbo Frame settings have been set successfully.
ping “IP Address of storage data ports” -f -l 8972
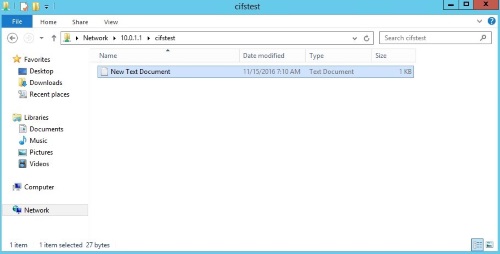
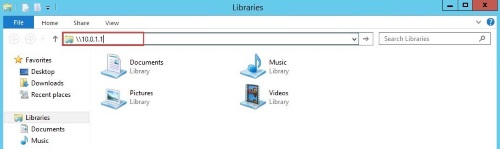
Go to File and enter the IP address of the remote CIFS server as below.
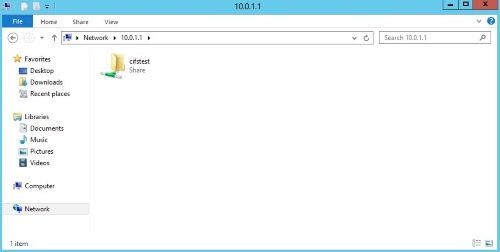
A shared folder is shown. Double click it without entering a password (assuming the “no password is required” option is enabled).
Create a file in the shared folder to make sure all of the CIFS settings are correct.